Image - 2026-10-01 16:26
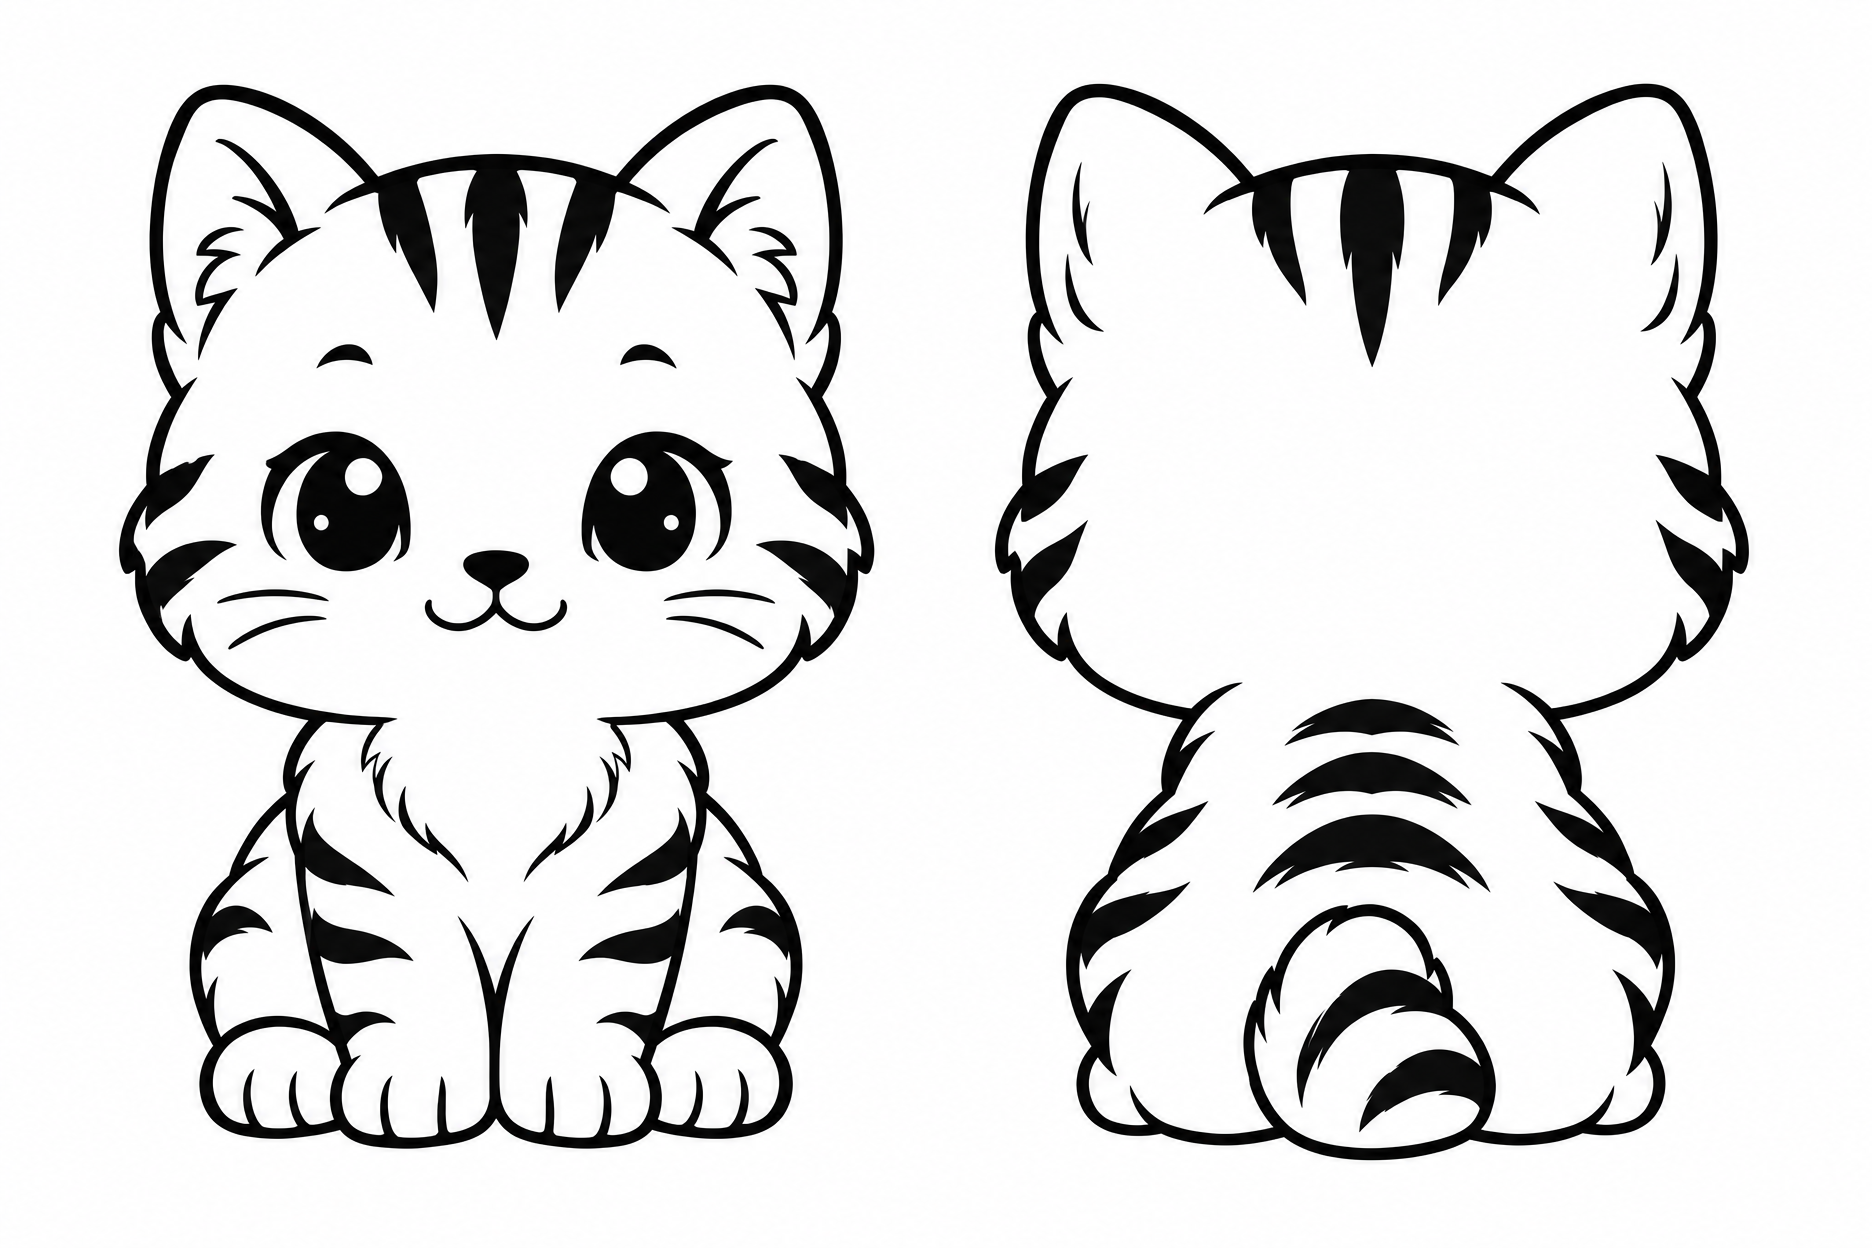
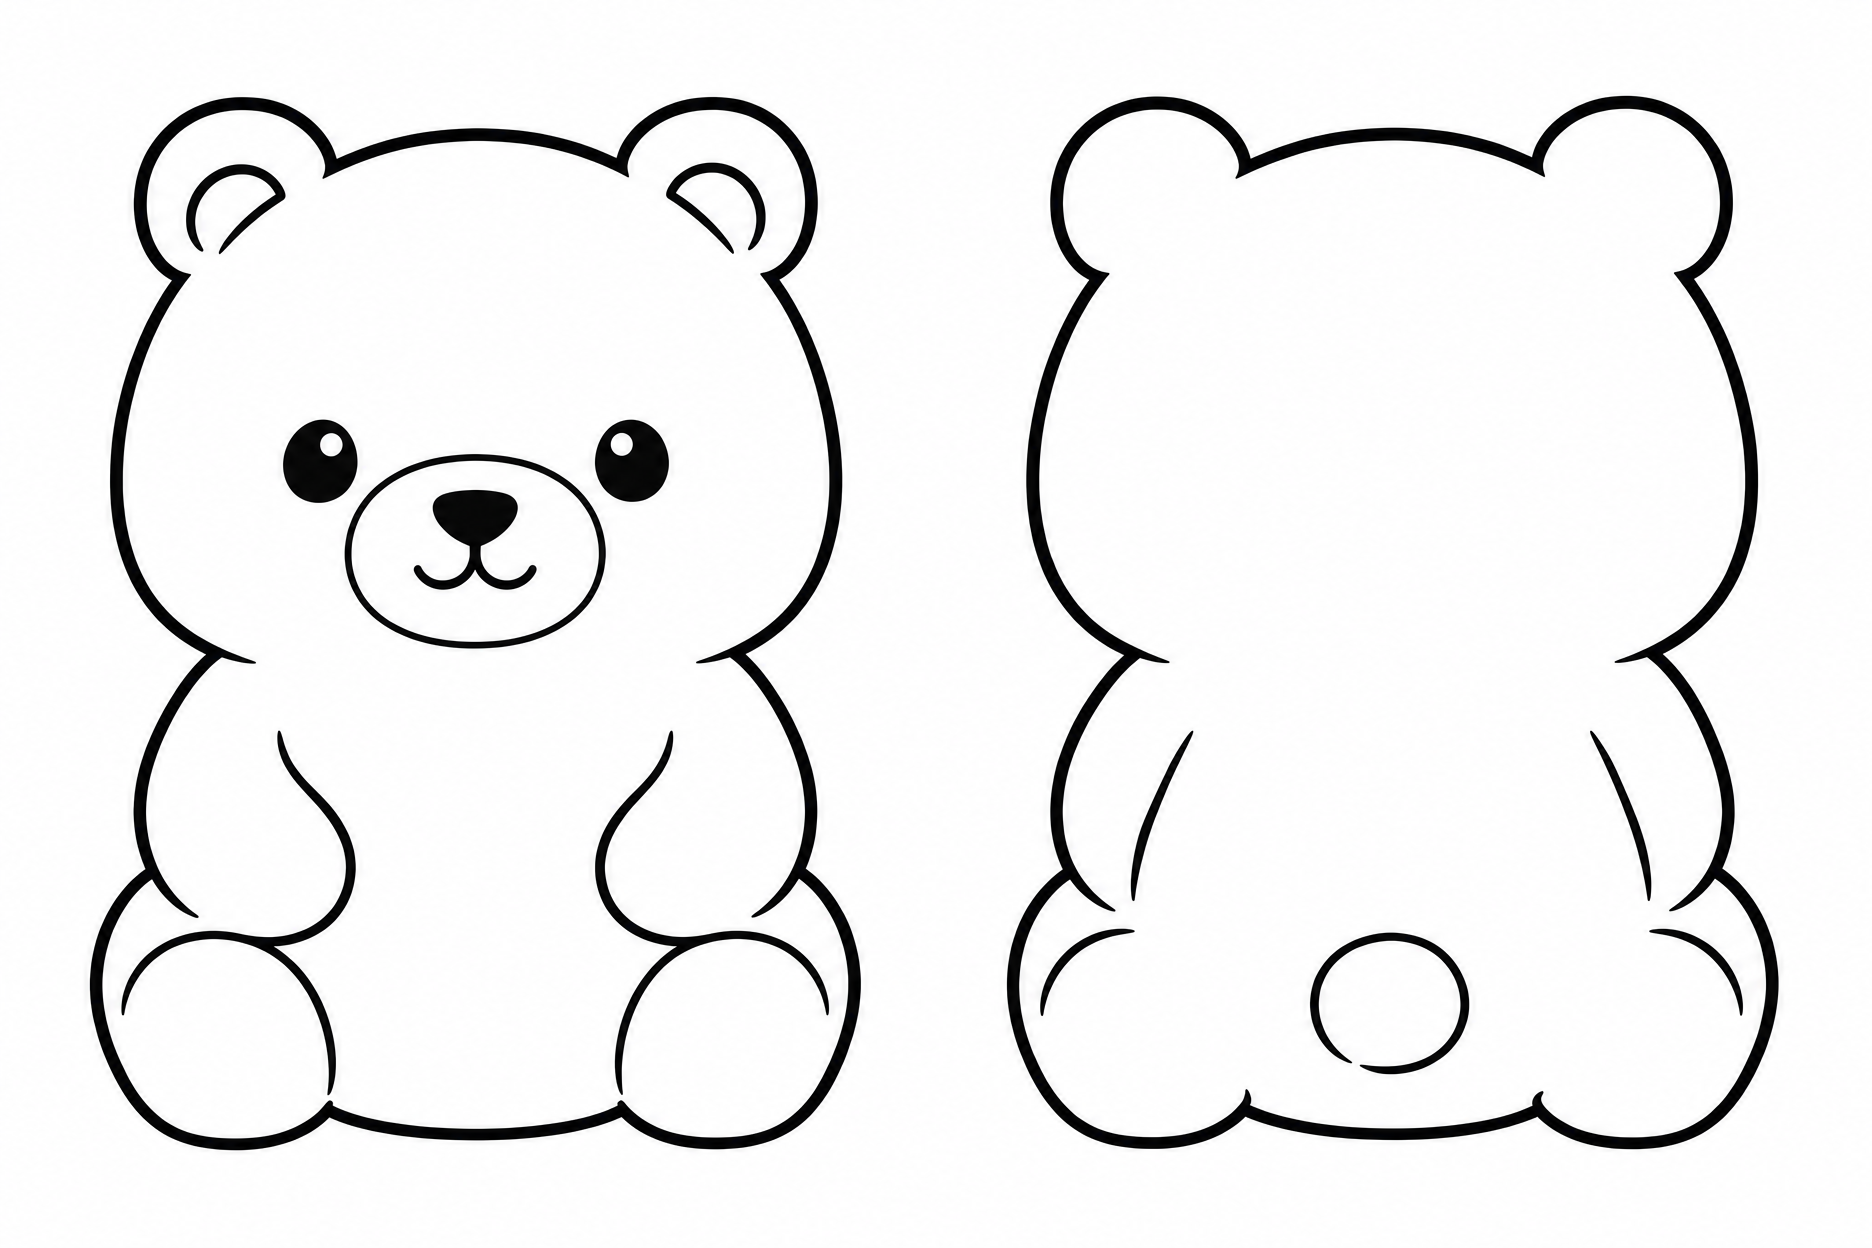
Create a premium black-and-white TWO-VIEW DESIGN SHEET of a chibi [ANIMAL SPECIES], intended for engraving on both sides of one laser-cut charm. CANVAS AND LAYOUT Use a landscape 3:2 aspect ratio at the highest available resolution. Generate BOTH views together in ONE image: LEFT — strictly straight-on FRONT view. RIGHT — strictly straight-on BACK view of the exact same animal. Divide the canvas into two equal imaginary panels. Center one figure in each panel. Match their scale, height, width, vertical alignment, and baseline precisely. Each figure should occupy approximately 80% of the canvas height, with comfortable white margins and a clear white gap between them. Show exactly two complete figures. No cropping, overlap, panel borders, divider lines, captions, or labels. CHARACTER DESIGN Create an exceptionally appealing chibi animal with an oversized rounded head, a small compact body, short chunky paws, and soft, carefully balanced proportions. Make the species immediately recognizable through a few distinctive, simplified features. Aim for the quality of a professionally designed collectible mascot: charming, expressive, memorable, and beautifully composed, not generic clip art. Use a compact upright seated pose, with the head straight and the paws tucked close to the body. Keep the external silhouette bilaterally symmetrical. Ears must have balanced positions and sturdy bases. No head tilt, turned torso, dynamic pose, perspective, or foreshortening. ONE SHARED SILHOUETTE — HIGHEST PRIORITY These illustrations represent opposite faces of ONE physical flat object. First establish one clean, closed, bilaterally symmetrical outer silhouette. Repeat that SAME silhouette for both views, changing ONLY the interior artwork. Treat the outside boundary as a fixed template, not something to reinterpret separately for each view. Both figures must have matching: — ear tips, ear bases, and ear spacing; — head shape, cheek width, and chin level; — shoulder transitions and body width; — limb protrusions and paw positions; — bottom contour and total dimensions. When translated horizontally onto each other, the outside outlines should coincide. Do not stretch, rotate, reposition, or reshape individual body parts between views. If anatomically realistic rear details would require a different external boundary, simplify the interior anatomy instead. Preserving the shared cutting silhouette takes priority. FRONT VIEW — LEFT FIGURE Show the face and front-facing body details. Create an endearing expression using beautifully shaped eyes, a tiny nose, and a simple mouth appropriate to the species. Use restrained, clear facial details that remain readable at small engraving sizes. Show simplified front paws and a few essential species-specific markings. Preserve generous white space around the eyes, nose, mouth, and between adjacent lines. Avoid tiny eye highlights, intricate teeth, fine whiskers, and dense fur details. Any whiskers must stay fully inside the silhouette. BACK VIEW — RIGHT FIGURE Show the same animal directly from behind in the same seated pose. Show the back of the head, the rear surfaces of the ears, a softly rounded back, and simplified rear-facing limb details. The rear view must be immediately recognizable as the back of the animal. No eyes, eyebrows, nose, mouth, facial expression, front chest markings, or face-like patterns on the back. If appropriate for the species, depict the tail with a simple interior shape, entirely WITHIN the existing body silhouette. Never let the tail change the outside outline. Make the back feel polished and intentionally designed through a few elegant curves and restrained species-specific markings. Do not fill empty areas with unnecessary decoration. LASER-CUT SHAPE DESIGN Each figure must form one solid, connected shape suitable for cutting from flat sheet material. Use broad connections between the head, ears, body, and paws. Avoid fragile bridges, narrow necks, sharp spikes, thin protruding appendages, detached elements, isolated pieces, or interior cutout holes. Keep all fur tufts, whiskers, and other small details inside the main outline, or omit them. Draw one clear, continuous, closed exterior outline per figure. No double contours, offset borders, hanging holes, or additional decorative outlines. ENGRAVING GRAPHIC STYLE Pure black artwork on a pure white background. Use crisp, smooth, vector-like linework with confident curves and substantial, consistent strokes. Make the exterior outline slightly stronger than the interior lines, without making it excessively thick. Interior lines must be robust and clearly separated, never hairline-thin. Use generous negative space to prevent small features from merging when reduced. Favor elegant contour drawing and a few controlled solid-black accents. Avoid large black masses that obscure the anatomy. Simplify fur and markings into a small number of purposeful graphic shapes. Convey character through proportion, silhouette, and line placement alone. No tonal modeling or simulated depth. The result should be visually simple but exceptionally well designed. OUTPUT REQUIREMENTS Deliver only the finished two-view artwork on a clean white background. No photograph, product mockup, wood grain, metal surface, material texture, simulated engraving, laser-burn effect, cast shadow, or physical charm presentation. No text, letters, numbers, labels, logos, watermark, props, scenery, ground line, frame, or extra animals. No color, gray fills, gradients, shading, halftones, hatching, stippling, sketch marks, realistic fur, painterly effects, or 3D rendering. FINAL CHECK Exactly two figures: FRONT on the LEFT, BACK on the RIGHT. Same animal, same pose, same scale, same alignment. Matching exterior silhouettes; only interior details differ. No facial features visible in the rear view. Both figures fully visible and separated by white space. Clean, restrained, high-contrast details suitable for small-format engraving. Priority: shared silhouette accuracy, engraving readability, outstanding chibi character design.
Free to start · Generate videos and images with AI in seconds
More by SHPENDE
См. все →
More Gpt Image 2.5 images
См. все →